DIVIS TIP OF THE MONTH
Tips for quick parcel investigation in ParcelVIS: direct selection of scan events
Bordesholm, April 4, 2020
The ParcelVIS software supports you in the search for packages in the parcel depot and offers you a range of settings and options for a particularly quick and time-saving investigation.
Find out today how you can quickly and precisely start your parcel investigation by choosing from the list of all scan events.
The situation
You want to search for a package and enter the corresponding package number in ParcelVIS. The software now displays the video material related to the package in question in a filmstrip.
Before you click further into the video material and carry out your investigation there, you can select a specific scan event in the left window of the video working area in order to start your investigation directly from there.
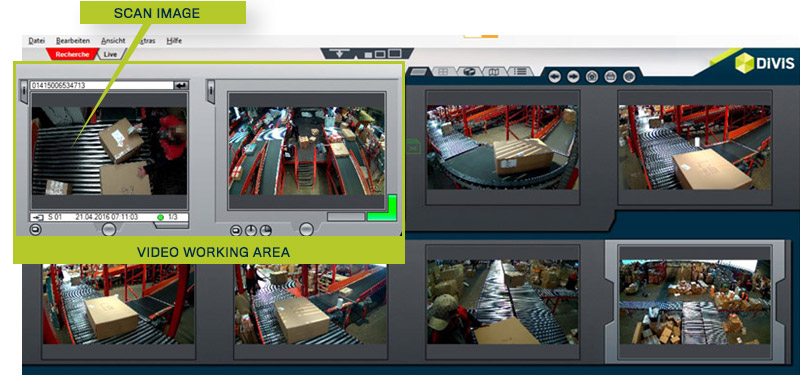
Fig.: Filmstrip of the video material for the parcel you are looking for and video working area
Select scan event
Below the scan image in the video working area you can see the list of scan events.
The most recent event is always displayed. By clicking on the white list box or the button at the bottom right, you can expand the list of scan events (button is green when the list is expanded) and see all scan events for this parcel below each other, one scan event per line.
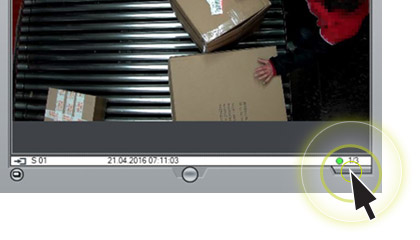
Fig.: Click on the button at the bottom right ...
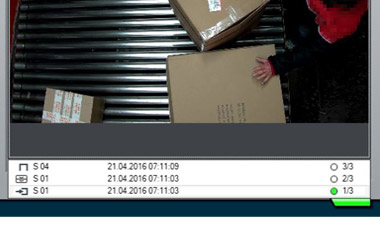
Fig.: ... reveals list of scan events
With a click of the mouse on the desired scan event, you can go directly to the relevant sequence and there you can visually follow up your parcel using the continuous camera images in the film strip.
The list of scan events contains useful information telling you at a glance which type of scan, for example inbound scan or bridge scan, has been carried out in each case and also how many scans were carried out on this parcel altogether.
Information in the list field
1. Scan type
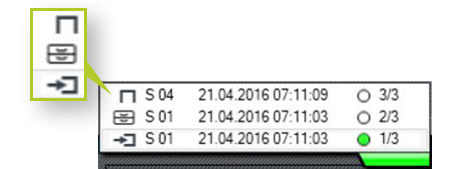
Inbound scan
Bridge scan
Contractor return
Return scan
Long-term archive
No Read
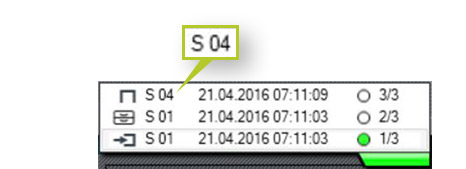
2. Scan location number: ID of the respective scan location
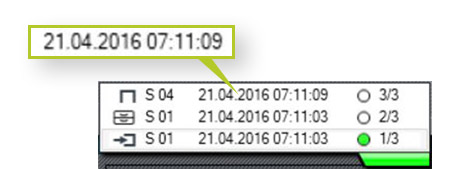
3. Date / Time: Exact time of the scan
4. Marking of the selection
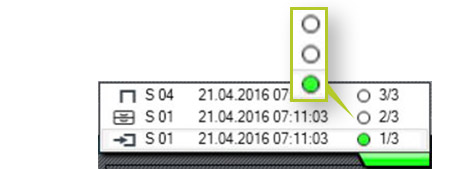
Bullet Green: Element has been selected
Bullet Neutral: Item not selected
5. Numbering and total number: List element shows scan number "..." from the total number of scans for this parcel
Example below:
3/3 = Scan #3 of 3 total scans
2/3 = Scan #2 of 3 total scans
1/3 = Scan #1 of 3 total scans
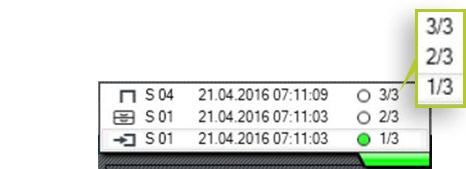
Fig.: Example with three scan events for one parcel number


