DIVIS TIP OF THE MONTH
Package tracking in ParcelVIS: Switch investigation from sorting belt to contractor’s area
Bordesholm, November 30, 2019
During parcel tracking in the depot, the parcels initially run on the sorting belt and can be located via the belt tracking. Once the package has been taken over by the contractor at the end of the belt, a switch from the sorting belt search to the contractor’s area search mode in ParcelVIS is necessary in order to be able to follow the package without interruption.
Today we will show you how to perform this switch from sorting belt to contractor’s area search.
Basics of the area search
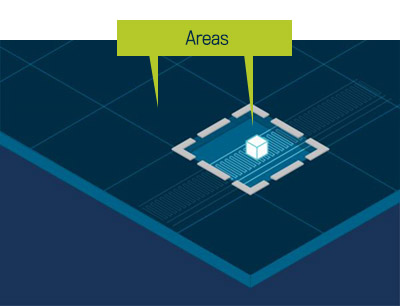
In the contractor’s areas, the parcels are transported by hand and therefore, unlike on the sorting belt, do not follow a predefined path. Therefore, another search principle must be applied in these areas, called the area search.
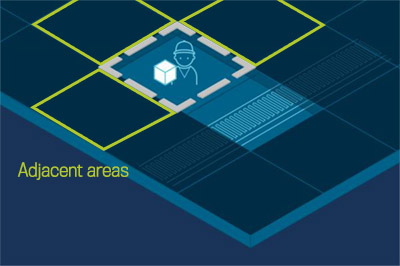
For the area search, the area to be covered is subdivided into logical fields, which can then be selected individually during a search.
Several cameras that cover different viewing directions are assigned to each individual area.
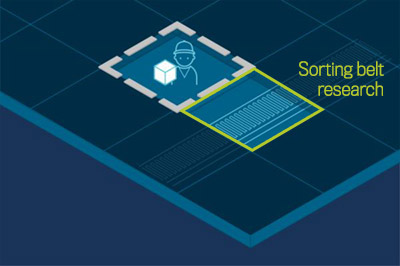
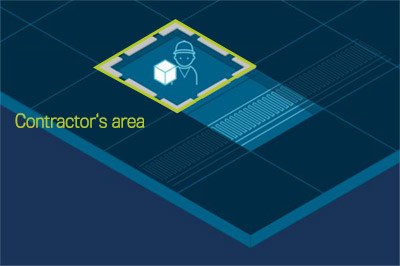
While tracing parcels through the contractor’s area one area after another can easily be navigated.
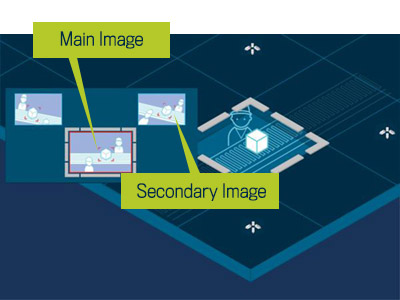
In the search view, navigation buttons are shown around the central video image (main camera image), which initially show a preview in the neighboring areas. If the tracked package is detected on one of the thumbnails, you can simply switch to the view of that area with one click on the preview.
This is how it works
The last image of the film strip displays the end of the sorting belt and thus the end of the sorting belt search. Double-click on this picture to enter the video editing area.
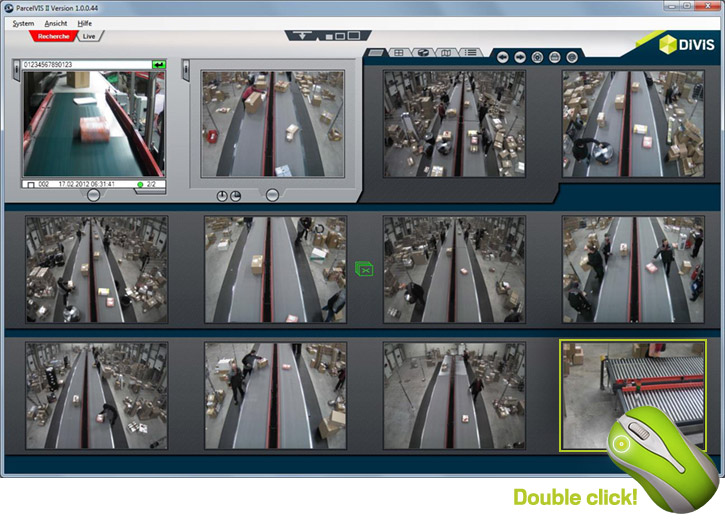
Fig.: Filmstrip the band search.
Double-click on the last video image ...
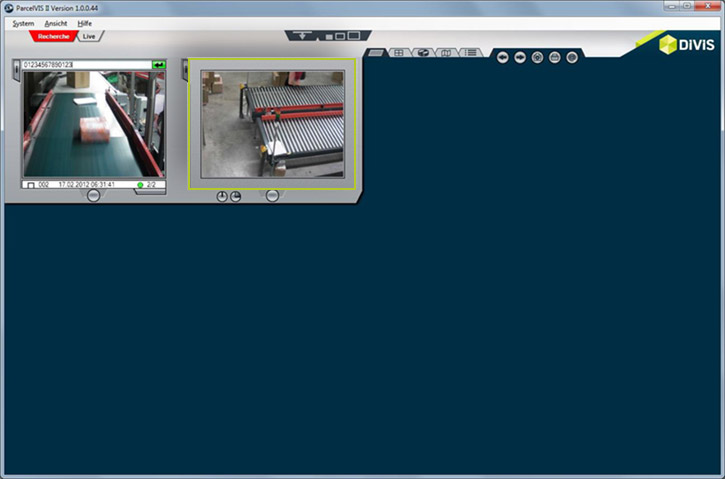
... this is taken over in the video editing area
Switch to the area search
To switch to the contractor’s area search, click on the area search icon in the workspace register.

Fig.: Tab for the contractor’s area search in the workspace register
The view of the entire workspace then switches to the contractor’s area search view.
Depending on the configuration, it is now possible to track the package in the area beyond the sorting belt, for example in contractor’s areas.
Currently selected main camera image and secondary images
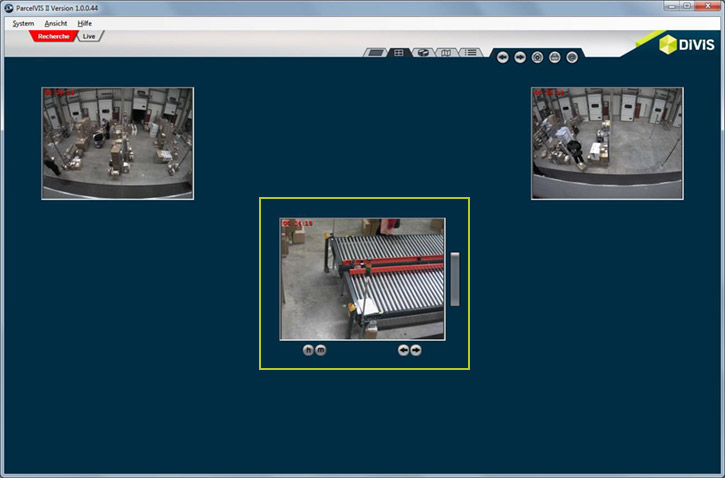
Fig.: Currently selected main camera picture with secondary pictures
During the system setup, a master camera image that details it best is pre-configured for each logical area.
All controls (such as playing, printing, etc.) refer to the main camera image shown.
In addition to the main camera image, secondary images are defined for each area, which represent a different perspective. These pictures are always displayed synchronously in time with the main camera.
Switch to the secondary camera
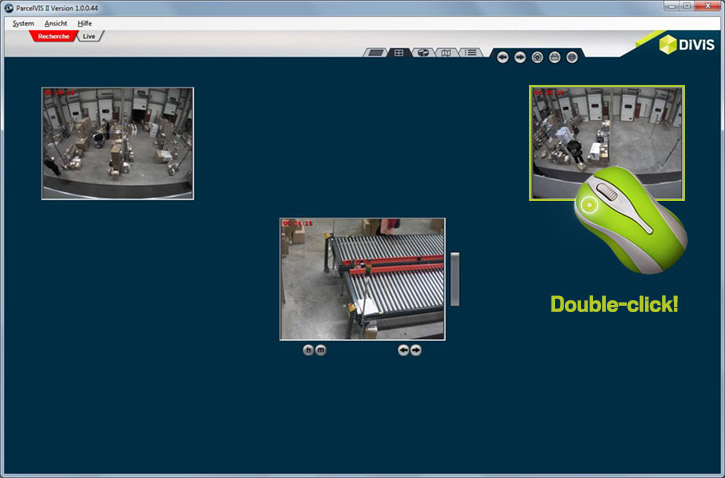
Fig.: By double-clicking on the picture of the secondary camera...
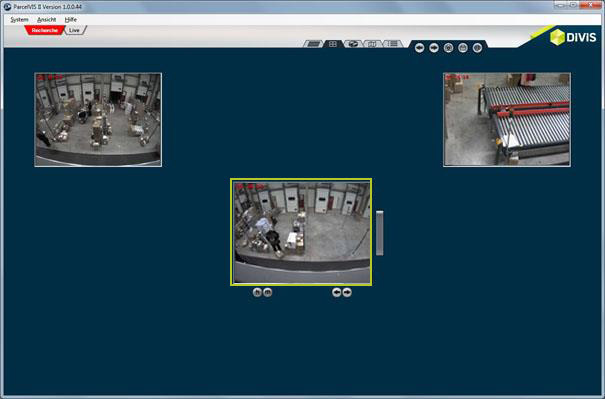
... it becomes the new main camera
Double-clicking with the left mouse button on the image of a secondary camera (in the image example left or right above the main camera image), this camera can be selected as the new main camera.
This will either change only the current images (previous main camera image will become the secondary picture) or a new area will be activated with new auxiliary cameras. The latter always happens when the selected camera is defined in a different area than the main camera.
Navigation buttons
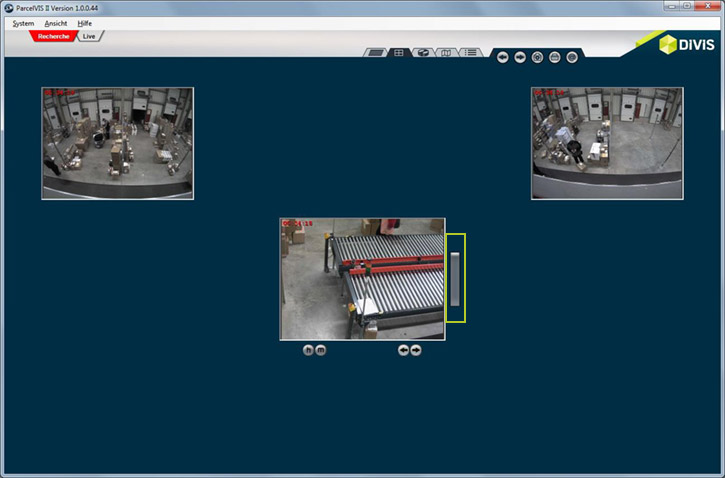
Fig.: Navigation buttons (here navigation to the right possible)
Depending on how many areas with corresponding cameras are directly adjacent to the main camera, navigation buttons are arranged around the entire image.
These navigation buttons are used to select the respective adjacent area. In the example shown, navigation to the right is possible.
If there is no button, no area is directly adjacent to the currently activated main camera.
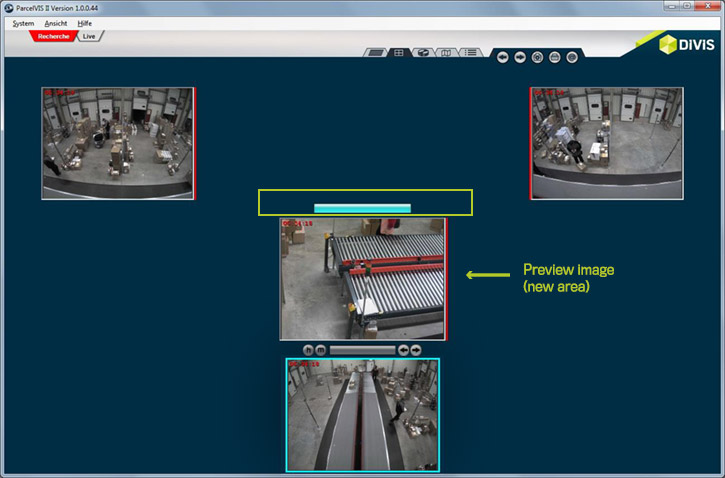
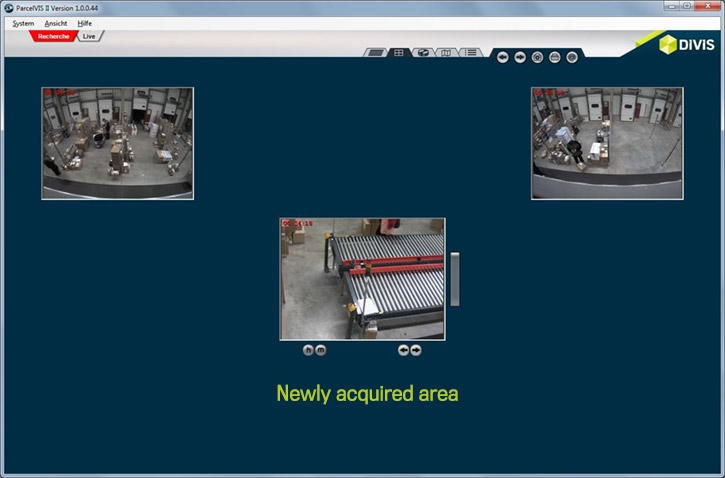
Fig.: Preview picture new area
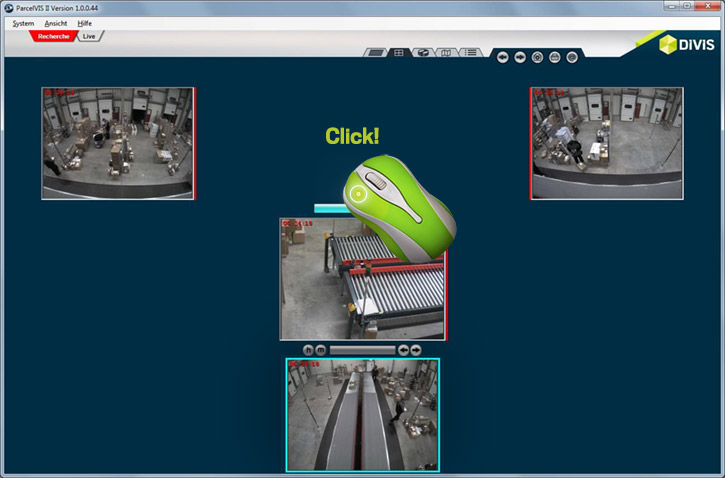
When hovering over the navigation button, it will light up in turquoise and the adjacent area will be displayed as preview. The original image from which the user navigated is displayed below the main camera image. This navigation is also possible in full screen view. In this case, the old search image is overlaid in an appropriate place over the main camera image of the new area.
For better tracking of the parcel you are looking for, it may be useful to forward or reverse the new and old main camera pictures in parallel by second. To do this, hold the mouse pointer over the navigation button (this will now turn turquoise) and move the mouse wheel in the corresponding direction to go forward or backward.
Range change
Click on the navigation button to enter the adjacent area.
Controls on the main camera image
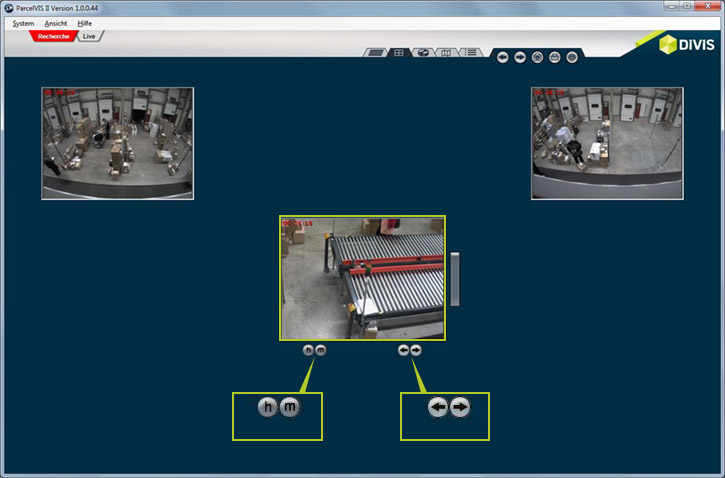
In the area search, the main camera image offers several options for moving back and forth through the image material.
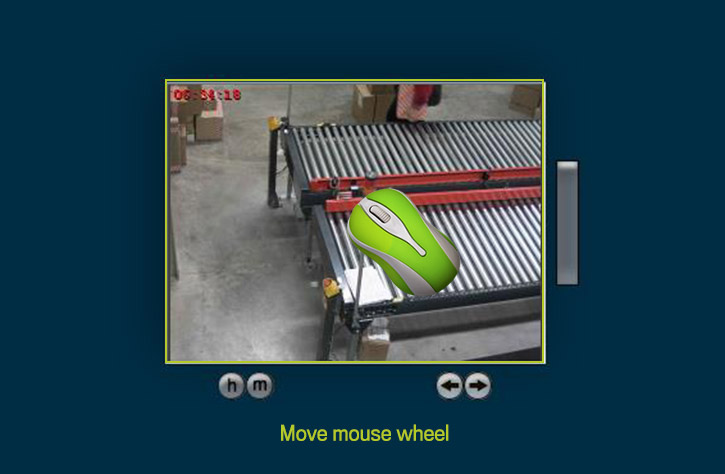
1. Back and forth in seconds in the main camera image via mouse wheel
To move through the footage in just a few seconds, hold the mouse pointer over the main camera image and move the mouse wheel in the desired direction. If the "m" or "h" key is held down at the same time, the jumps are executed in minutes (m) or hours (h).
In addition, you can use the Plus+ function Motion+ in ParcelVIS, which helps you to accurately investigate parcels, even if they are obscured by other packages in the camera image. Learn more about the quick investigation using Motion+ in this article.
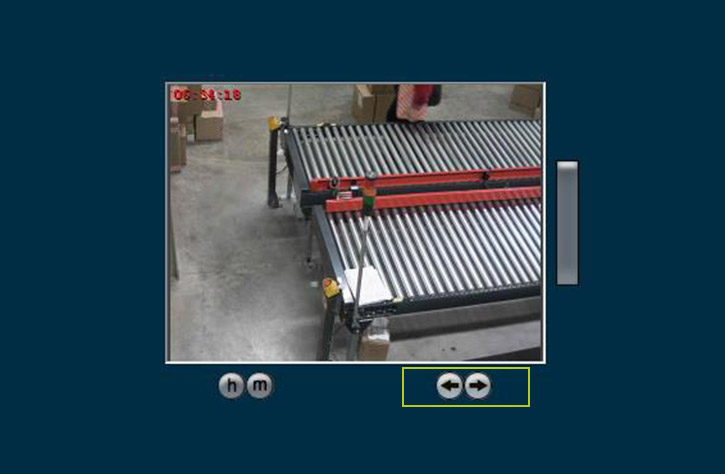
2. Gradual or continuous playback (forward and backward) by button
Below the main camera image you will find two arrow buttons.
By clicking on the respective button, you can navigate in seconds through the picture material in seconds. If pressed for a longer time, the button is "locked in place" and the playback runs continuously.
Clicking on the button again stops the playback.
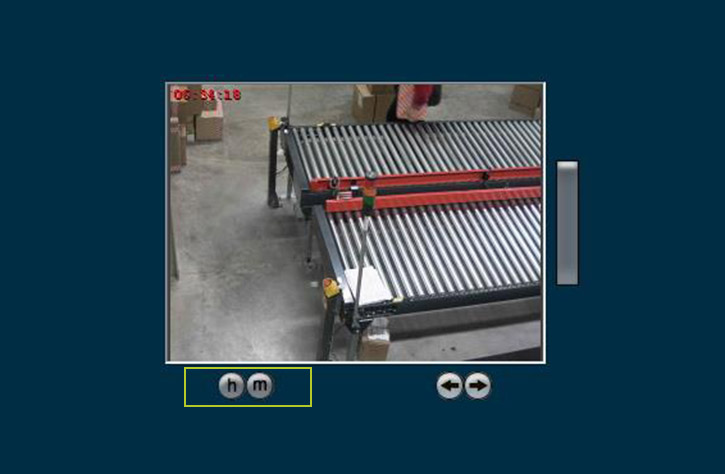
3. Minute and hour exact jumps with pre-set button
Hold the mouse pointer over the respective button and then navigate forwards and backwards through the image material using the mouse wheel (m = minute, h = hour).
Control elements of the interface
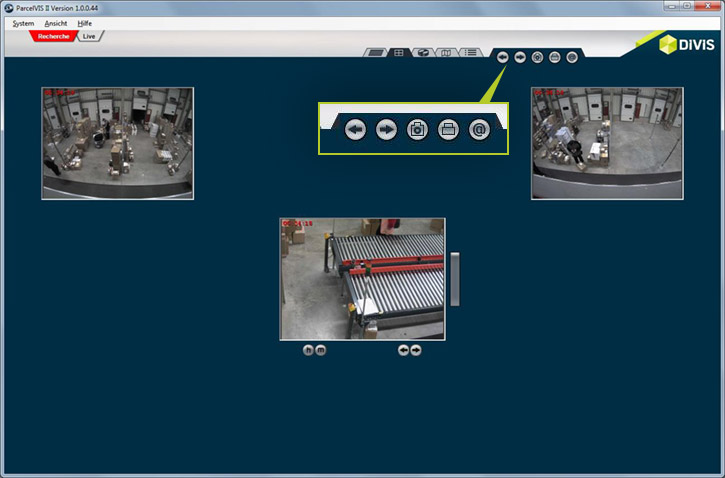
Forward / backward function
Enables the browsing of the search steps in order to continue an investigation in a different way starting at a previous point in time.
Save single image
of the main camera image
Print
the main camera image
Send main camera image
by e-mail

Find palletized shipments quickly with CargoVIS
With our video management software for cargo handling, CargoVIS, we offer you a comprehensive and easy-to-use system solution for the image-controlled investigation and tracking of palletized goods.

ParcelVIS for CEP providers and HUBs
Save time and money and let ParcelVIS work effectively for you with image-based consignment investigation in the transshipment warehouse: Entering the parcel label number is your key to all information on the whereabouts and status of a consignment during all scanned events.

