DIVIS TIP OF THE MONTH
Export of image sequences from CargoVIS and ParcelVIS - embed your logo and company address
Bordesholm, August 30, 2018

How to integrate your company logo
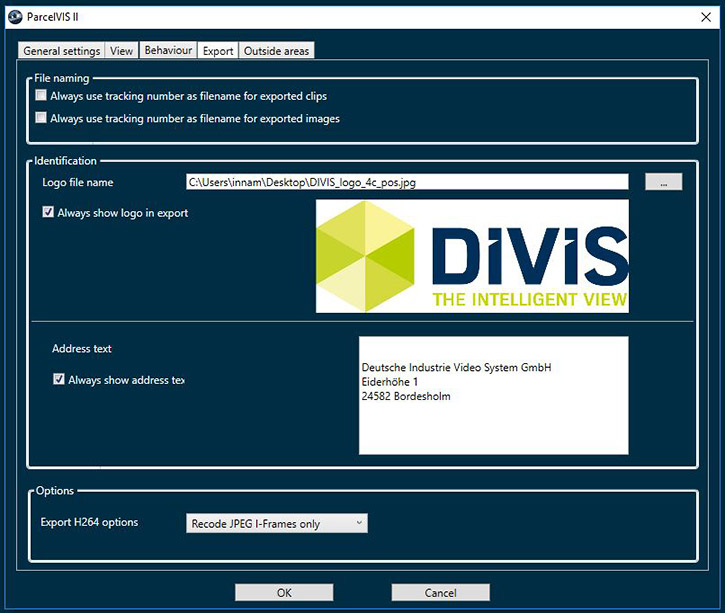
In order to save the image file of a logo, the “Export” tab is initially selected in the "Edit" dialog under "Settings".
Fig .: Tab “Export”
Under "Identification", the logo file can now either be specified with the complete file path or manually selected via the "..." button.
Fig .: Button "..."
Allowed formats are BMP, GIF and JPG. For best results, the logo should not be larger than 300x300 pixels. Ideal are image files with dimensions of 300 x 150 pixels.
The stored image is displayed above the "Address" input field.
“Always show logo” option
If the option "Always show logo" is not activated in the editing dialog, it will later be offered in the export dialog box when exporting via checkbox.
If the "Always show logo" checkbox is activated, the logo will automatically be displayed each time a file is exported. In the latter case the user can not remove it in the export dialog.
Fig .: “Always show logo” option
How to integrate your company address
Below the logo file, the company address can be entered in a text field.
Fig .: Enter company address
“Always show address” option
Here, too, in the editing dialog box the check box can be activated to always display the address automatically. This setting can no longer be individually controlled by the user in the export dialog as soon as the option "Always show address" has been activated.
Fig .: "Always show address" option
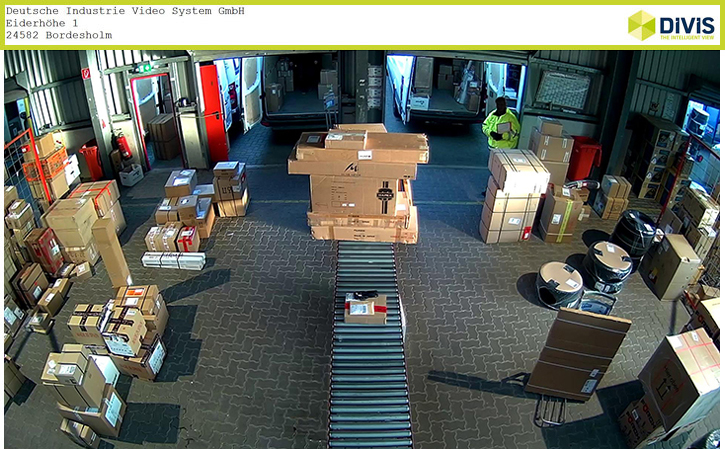
The result
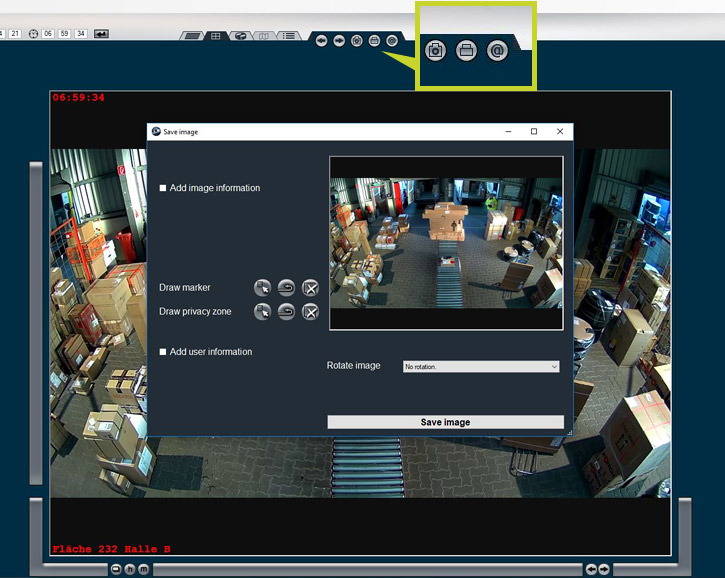
With the help of the buttons to the right above it, the image can now be saved, printed or sent by e-mail, including the customized information.

Fig .: Buttons for saving, printing and e-mailing

Fig .: The result - address and logo displayed in the picture


