DIVIS TIP OF THE MONTH
Sequencer lists and guard tours in ParcelVIS and CargoVIS
Bordesholm, December 1, 2020
Our complete solutions CargoVIS and ParcelVIS offer numerous useful features for shipment and parcel tracking in logistics companies. Their functionality and benefits extend far beyond the capabilities of conventional video surveillance systems. Nevertheless, in addition to shipment investigation, the DIVIS software also has some useful functions for classic live video surveillance.
Find out today how easily and conveniently individual sequencer lists can be created in the software for observation and guard tours. Both features automate and simplify video surveillance for the user.
Sequencer lists
In the live view* of CargoVIS and ParcelVIS, the live images of several cameras can be displayed on one monitor. However, the observation of the reduced size image tiles does not offer sufficient information or convenience in live monitoring in any given situation.
This is where another option of our software comes into play: the sequencer.
A sequencer displays a rotating view of preselected cameras from a list, following an individually adjustable time interval.
As with individual camera images, the sequencer can be displayed in full screen by double-clicking the video image.
In this way, it is easy and convenient to observe multiple cameras in full screen.
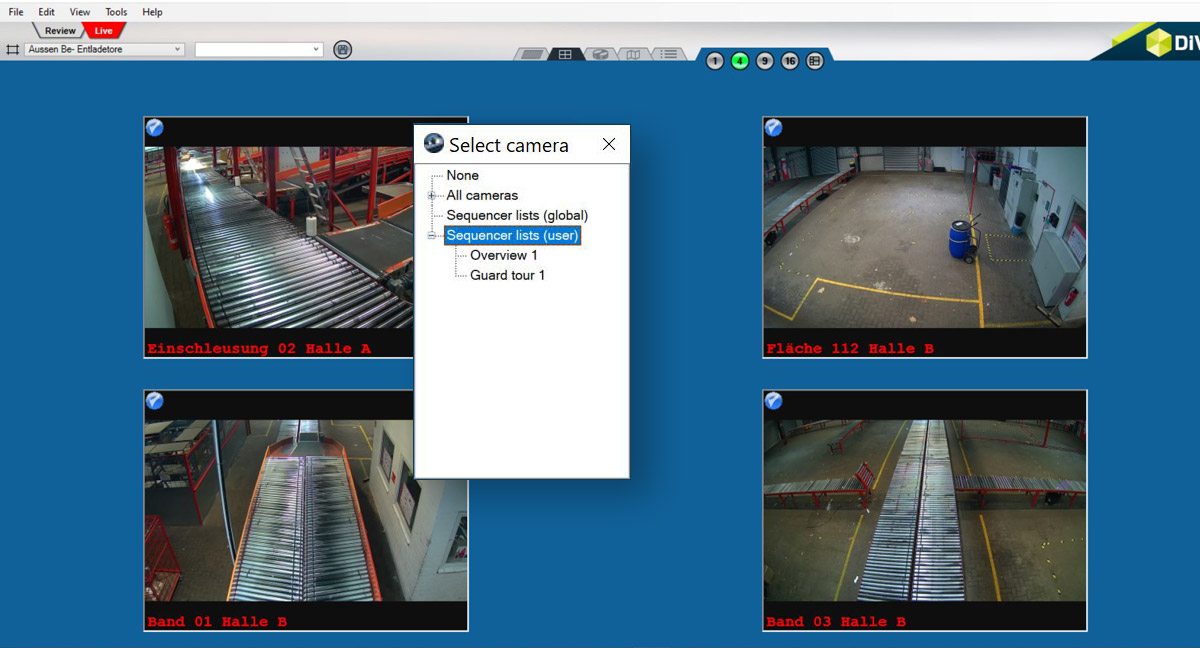
There are two types of sequencers, “global” and “user”. A global sequencer list is preconfigured and can be opened by any user in the software. Registered users can create their own user sequencer lists, which can only be accessed by them.
Guard tours
A guard tour is based on a predetermined sequencer list. However, the sequencer does not run automatically during the guard tour, but must be switched manually. The reason: maintaining the attention of the respective user. In each new camera view, a button appears at different spots and must be clicked. Only then the software switches to the next preselected camera. In contrast to sequencers, no display duration can be entered when setting up guard tours, because the change to the next camera must be triggered manually by the user.
The start and end of each guard tour are logged in the software, which creates proof whether a guard tour was carried out or not and whether it was complete.
Create your own sequencer list
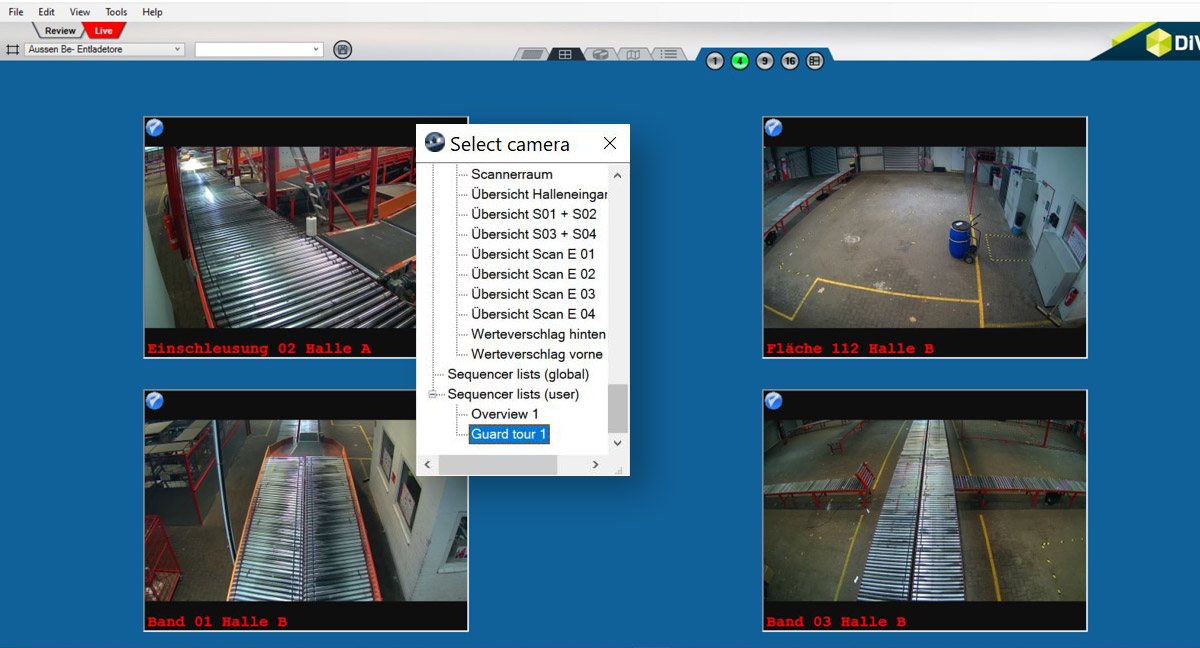
Right-click on any camera field in your live view to open the camera selection dialogue. Sequencers can be created or edited via this dialogue.
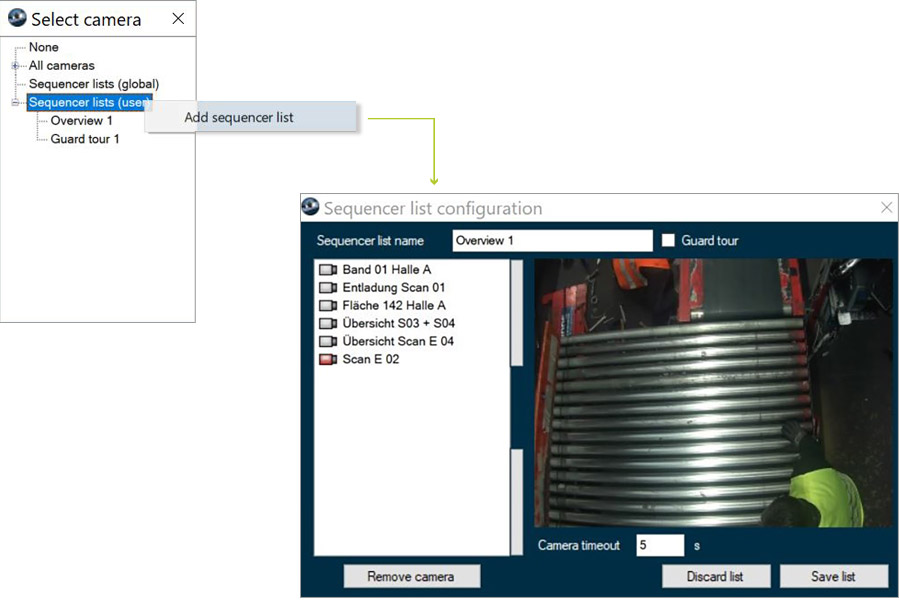
You can create your own new sequencer by right-clicking on the “Sequencer list (user)” item in the camera selection dialogue and then clicking on the “Add sequencer list” item that appears. Then the dialogue for the sequencer list configuration opens.
Sequencer list configuration
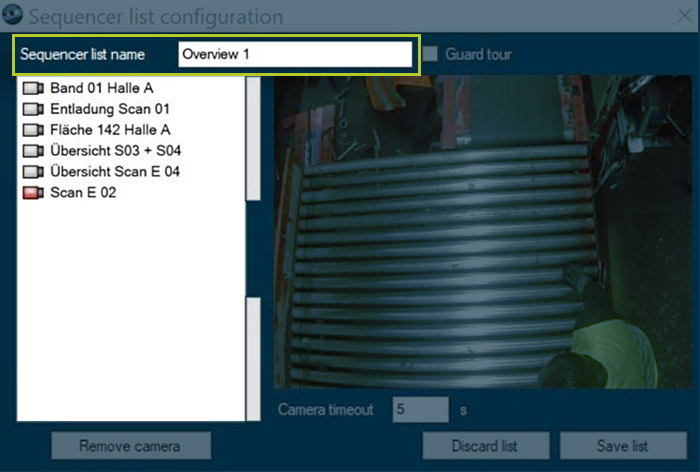
Sequencer list name
Enter the desired name for the sequencer here.
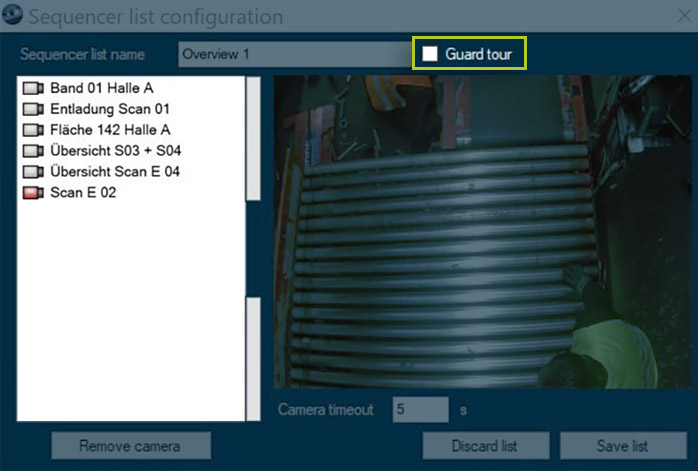
Guard tour
In the configuration dialogue you can now determine with a check mark whether the sequencer list should be carried out as a guard tour.
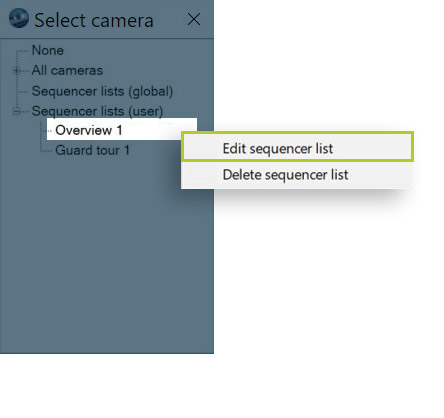
Edit sequencer list
To edit an existing sequencer list, right-click to open the configuration menu.
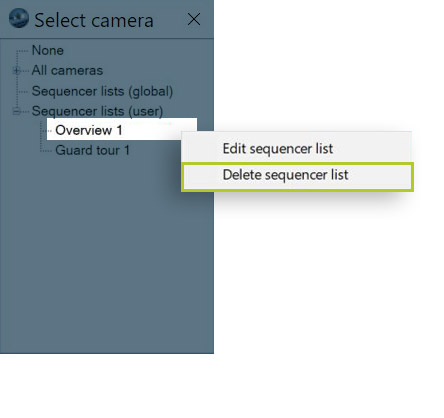
Delete sequencer list
To remove a certain sequencer list right click on it and use the item "Delete sequencer list" in the pop-up menu.
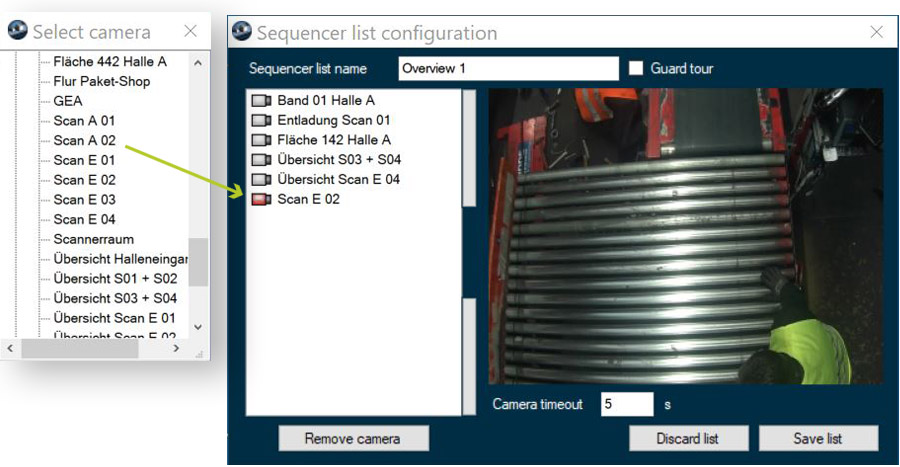
Add cameras to a sequencer list
New cameras can be added to an existing sequencer list very easily by double-clicking on the respective camera in the camera selection window (this window should therefore not be closed while editing the sequence). New cameras are then automatically displayed in the window for the sequencer list configuration.
Remove camera
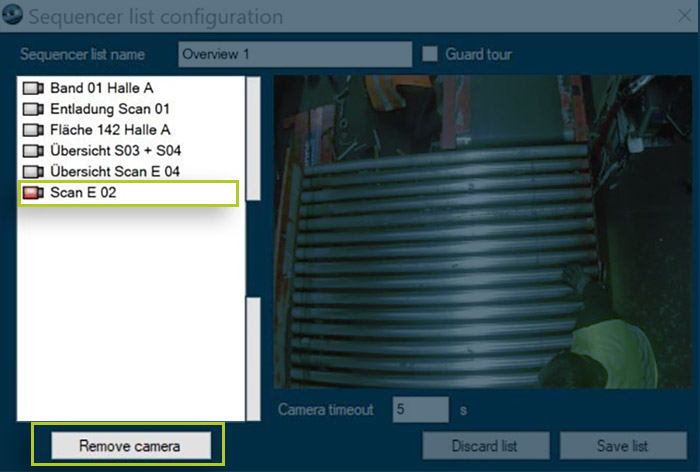
To remove a camera from a sequencer list, left-click the camera in the configuration dialogue. The camera symbol turns red and the respective camera image is shown on the right. Now click on the "Remove camera" button at the bottom of the window to confirm the removal of the camera.
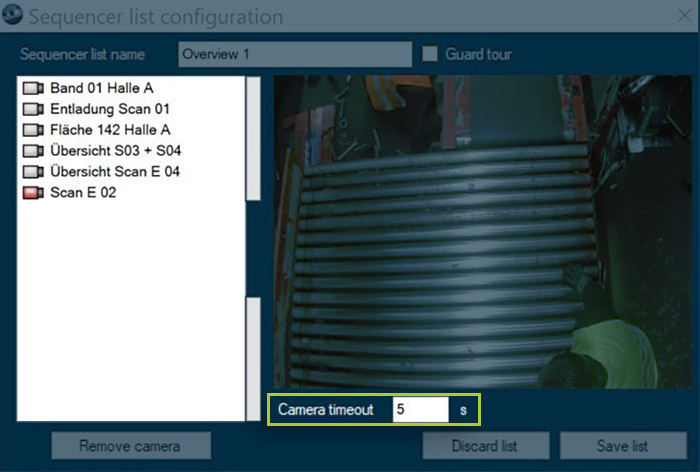
Camera timeout
By entries in the camera timeout field, you can determine for each individual camera how long it should be displayed before switching to the next view. The relevant camera must first be selected and then the entry be made. The timeout option is not available for guard tours, as the switch to the next camera has to be triggered manually.
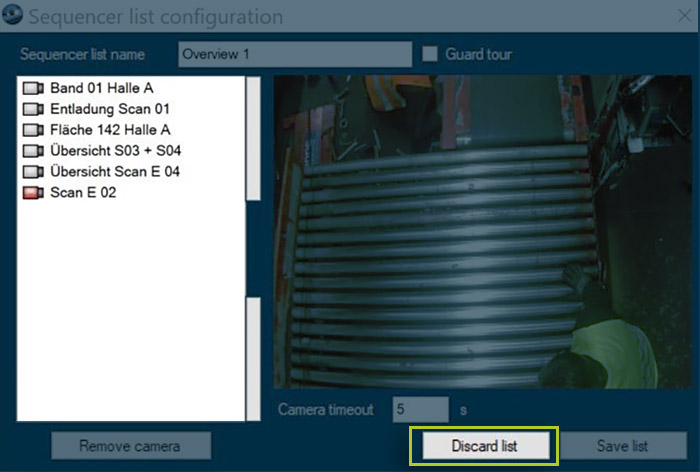
Discard list
Changes to the current list can be discarded with the corresponding button if you don’t want to keep them. The list then remains in the form previously saved.
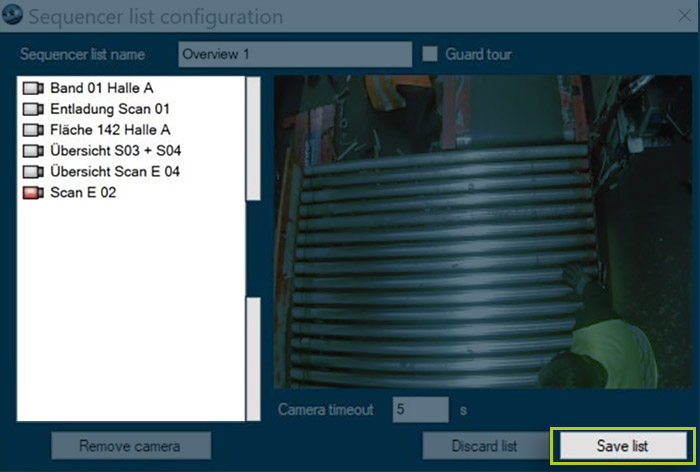
Save list
Click on the “Save list” button to apply all changes or save new lists.
Use sequencer lists and guard tours
Selection of a sequencer list or guard tour
The sequencers and guard tours can be switched on like cameras.
It is also possible to open them from the tile overview. For an optimal overview, however, we recommend to first open a camera image in full screen by double-clicking on it.**
Then open the camera selection dialogue with a right click over the camera image. Now select the desired sequencer or guard tour in the overview by double-clicking. The camera selection dialogue then closes automatically and the selected sequencer list is executed.
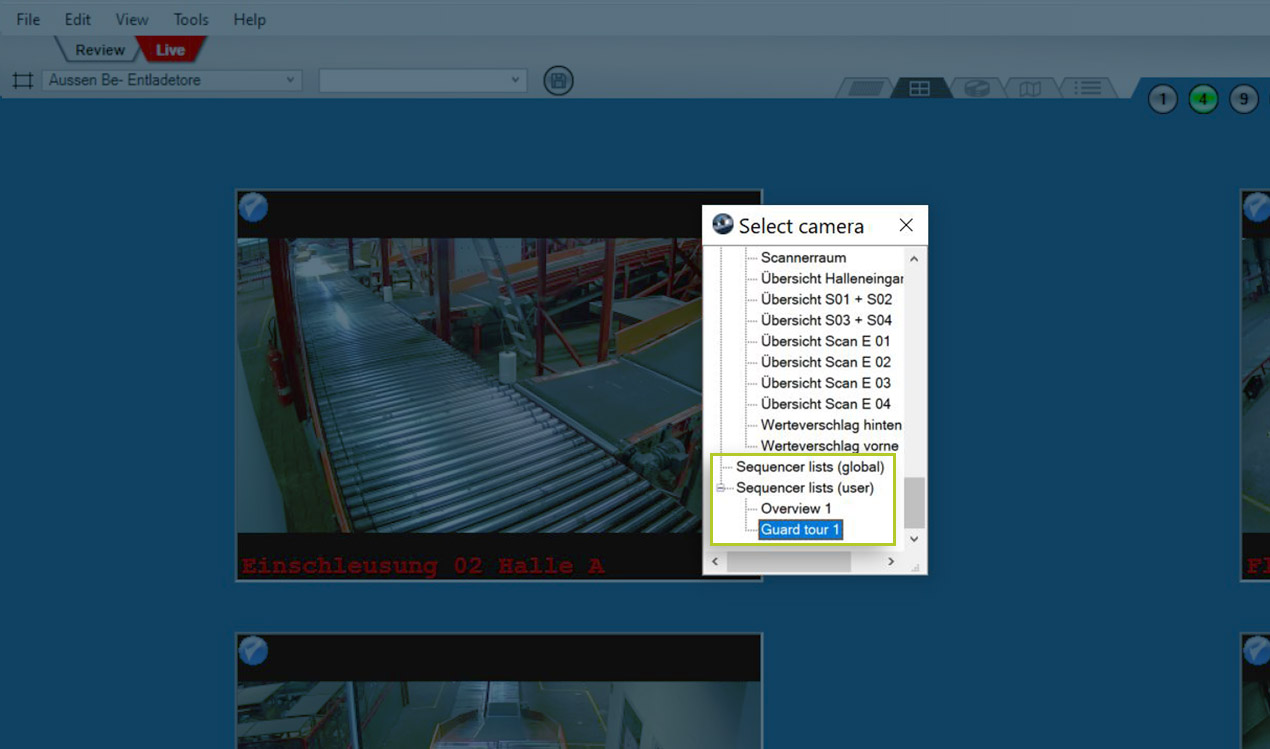
Activated guard tour
The individual camera images are confirmed via the confirmation button at the bottom of the camera image. If a guard tour is not completed, this is also noted in the software logbook.
As soon as the tour has been completed successfully, a message appears on the monitor and a corresponding note is entered in the software logbook.
Newly started and completed guard tour
At the start of a guard tour, the confirmation button is always displayed at the bottom left of the first camera image.
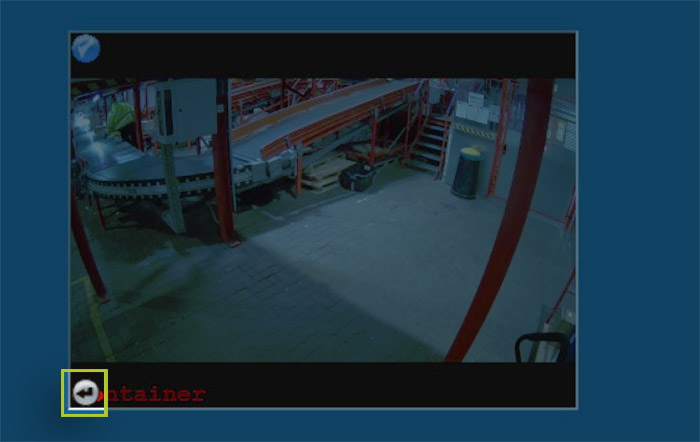
After the first image has been confirmed, the position of the confirmation button changes in the following camera images. The user is therefore forced to take a closer look at the display in order to locate the button. This ensures that full attention is paid to the camera images during the tour.
After the end of a guard tour, the first picture remains activated.
** Depending on your needs, it can be useful to open a sequencer or a guard tour in full screen view without menu bar and control elements in a separate window that fills the monitor. This window can then be moved around and also adjusted in size. Opening in the separate full screen takes place with “CTRL” and double-click. More information can be found here: Full-screen feature in CargoVIS - Display live images in an extra full-screen sized window


